안녕하세요.
이전시간에 안드로이드와 Firebase와 연결을 해보았습니다.
이번에는 안드로이드 스튜디오에서 Firebase의 Database를 연동해서 DB 데이터 저장 및 로드를 해보도록 하겠습니다.
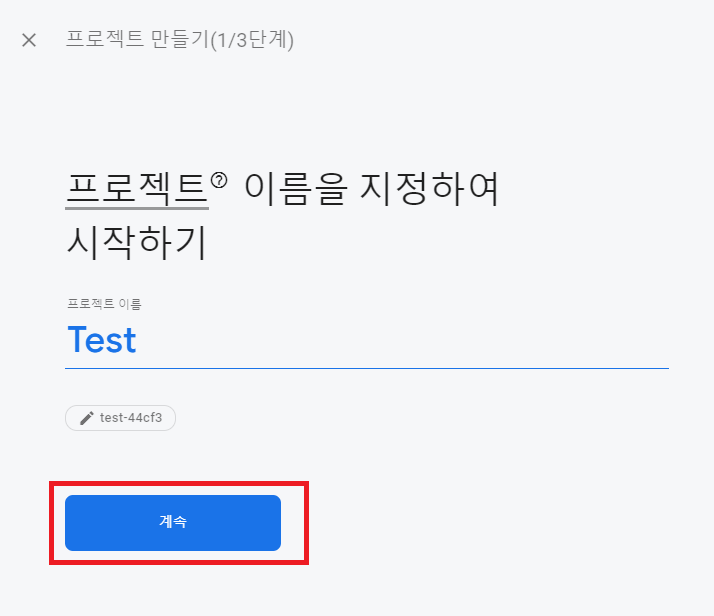
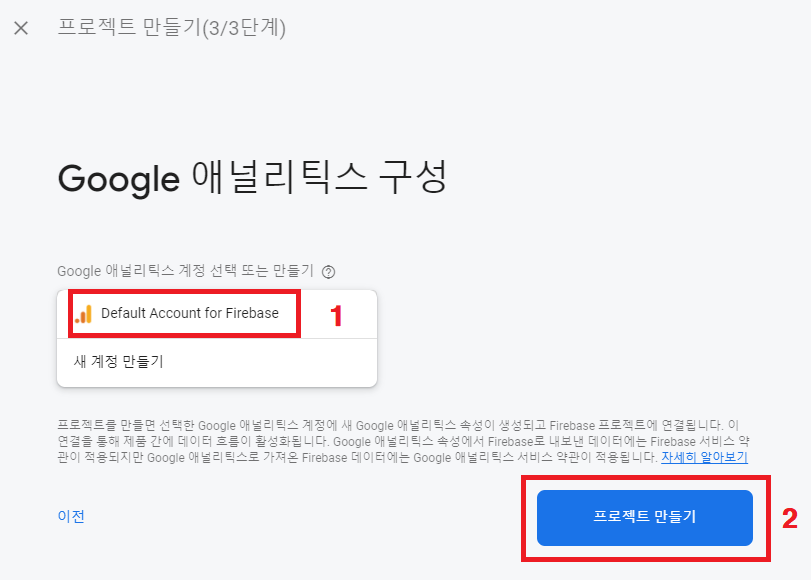
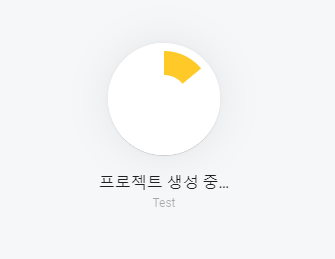
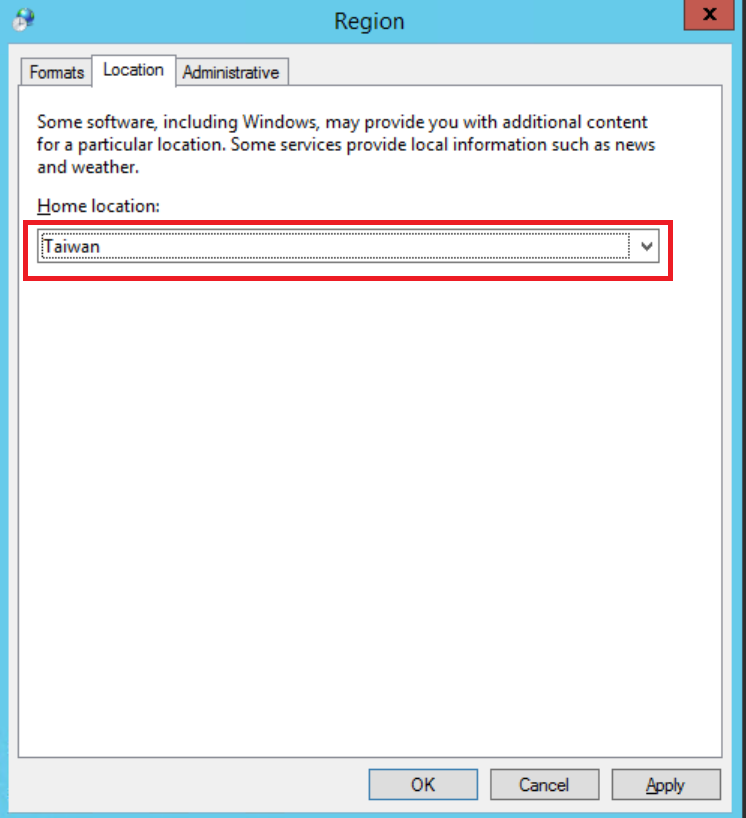
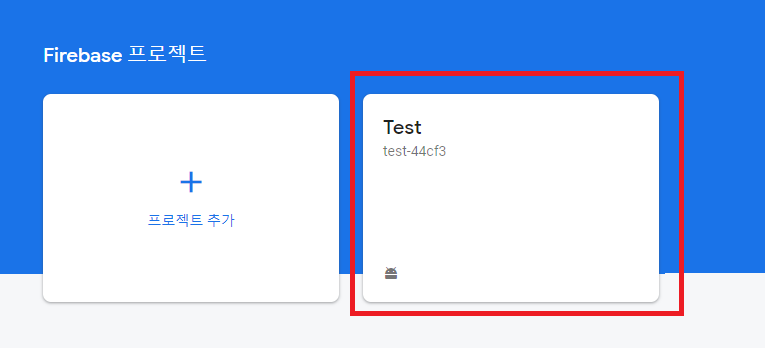
일단 Database 추가를 위해서 Firebase colsole으로 들어갑니다.
로그인 - Google 계정
하나의 계정으로 모든 Google 서비스를 Google 계정으로 로그인
accounts.google.com
추가한 프로젝트를 클릭합니다.
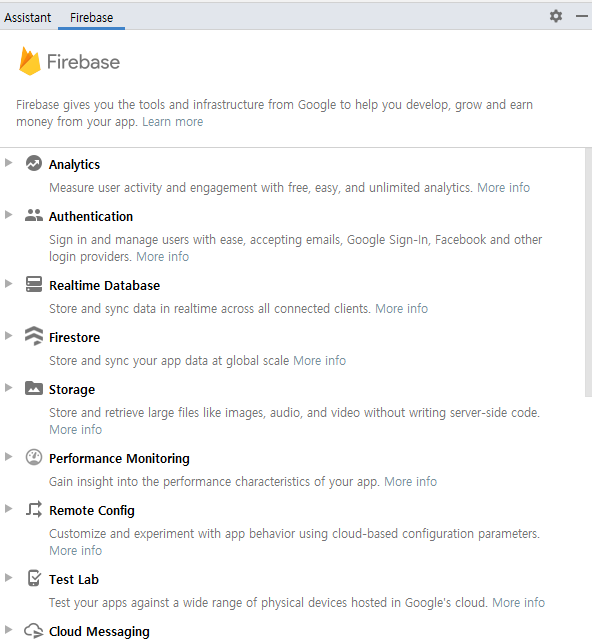
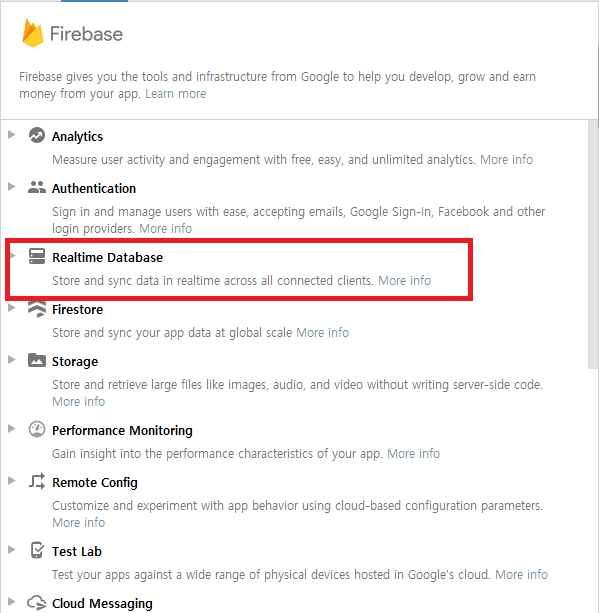
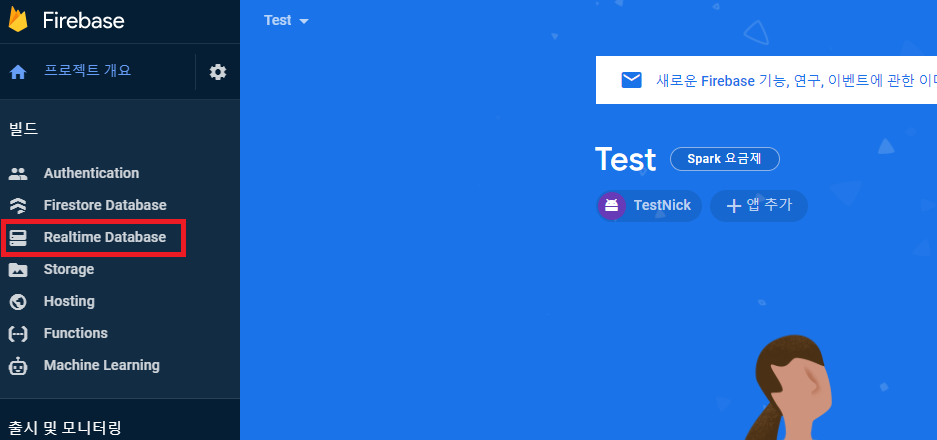
왼쪽에 Firestore Database와 Realtime Database가 있는데, 저는 Realtime Database로 셋팅해보겠습니다.
"Realtime Database"를 클릭합니다.
Firestore Database와 Realtime Database의 차이가 궁금하시다면, 다음 페이지를 참조하시면 될 것 같습니다.
https://firebase.google.com/docs/database/rtdb-vs-firestore?authuser=0
데이터베이스 선택: Cloud Firestore 또는 실시간 데이터베이스 | Firebase
Firebase는 실시간 데이터 동기화를 지원하며 클라이언트에서 액세스할 수 있는 2가지 클라우드 기반 데이터베이스 솔루션을 제공합니다. Cloud Firestore는 모바일 앱 개발을 위한 Firebase의 최신 데이
firebase.google.com
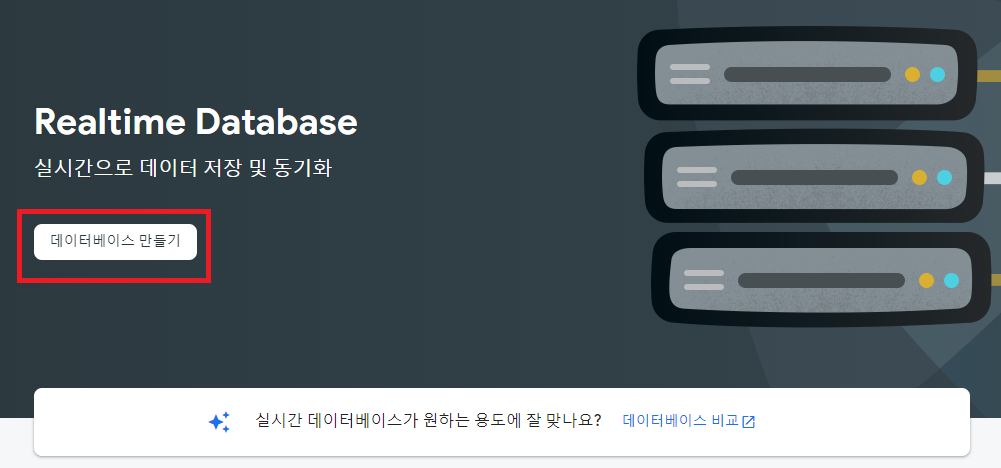
데이터베이스 만들기를 클릭합니다.
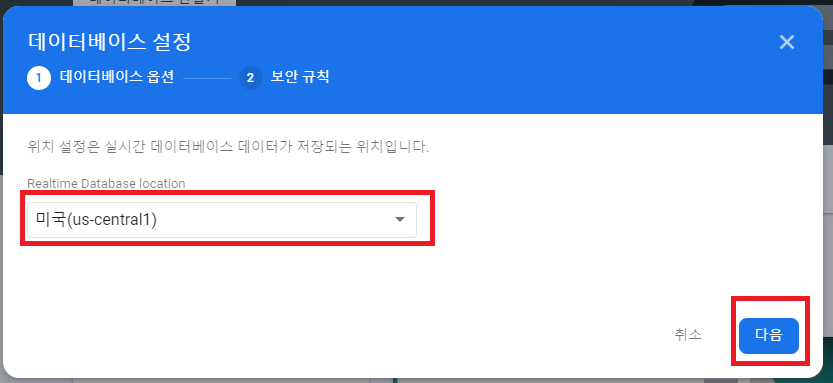
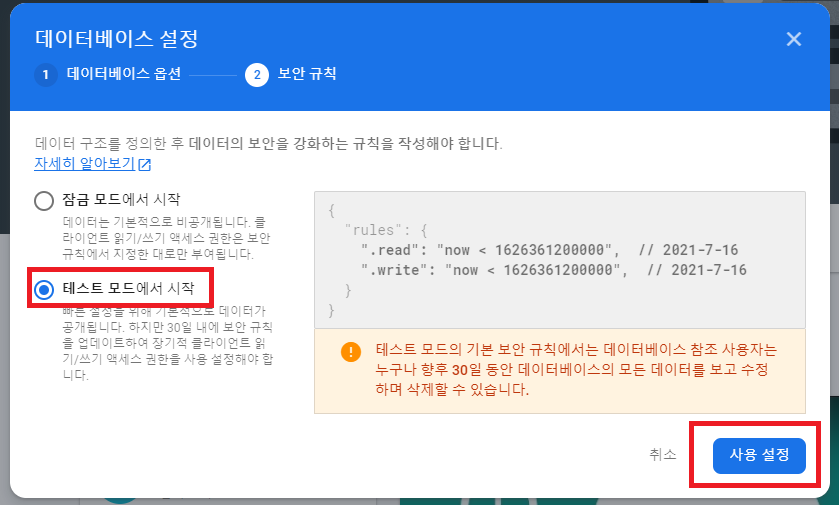
대한민국은 없기때문에 Default인 미국으로 설정하고 다음을 클릭합니다.
테스트를 하기위해서 테스트 모드에서 시작으로 변경해주고 사용설정을 클릭해줍니다.
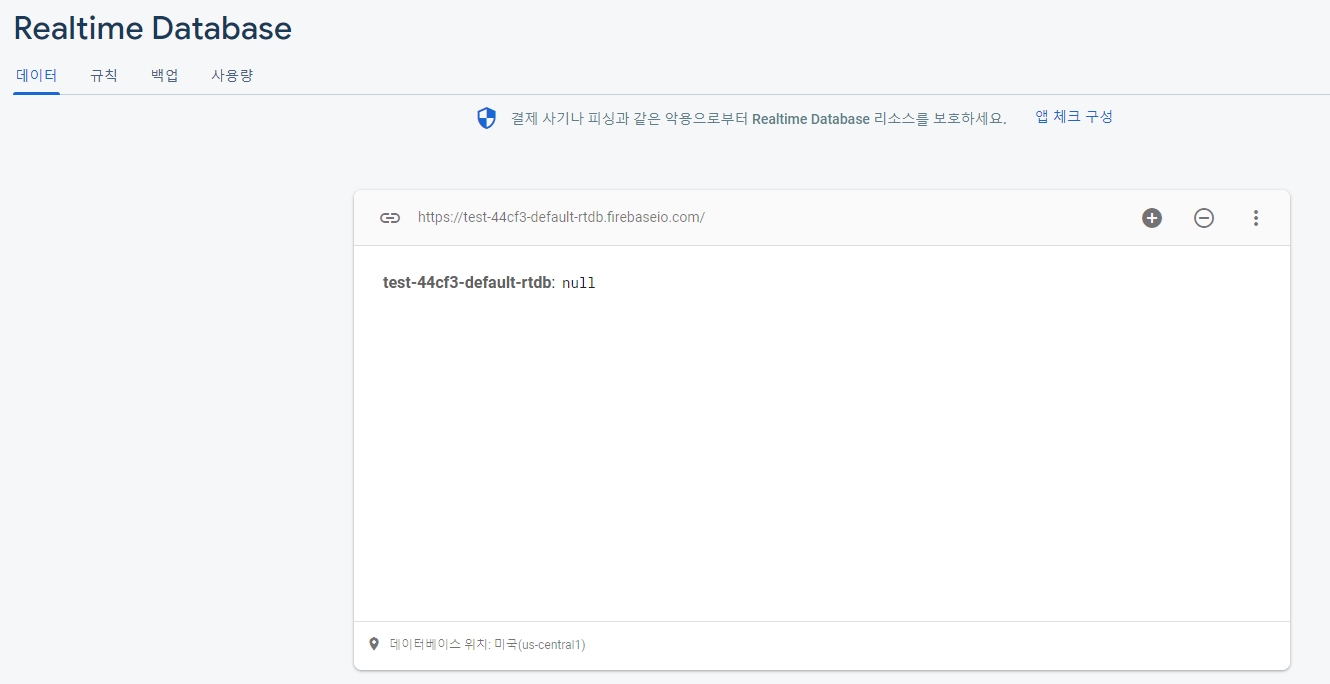
잠시 기다리면 데이터베이스를 추가할 수 있는 창이 생성되었습니다.
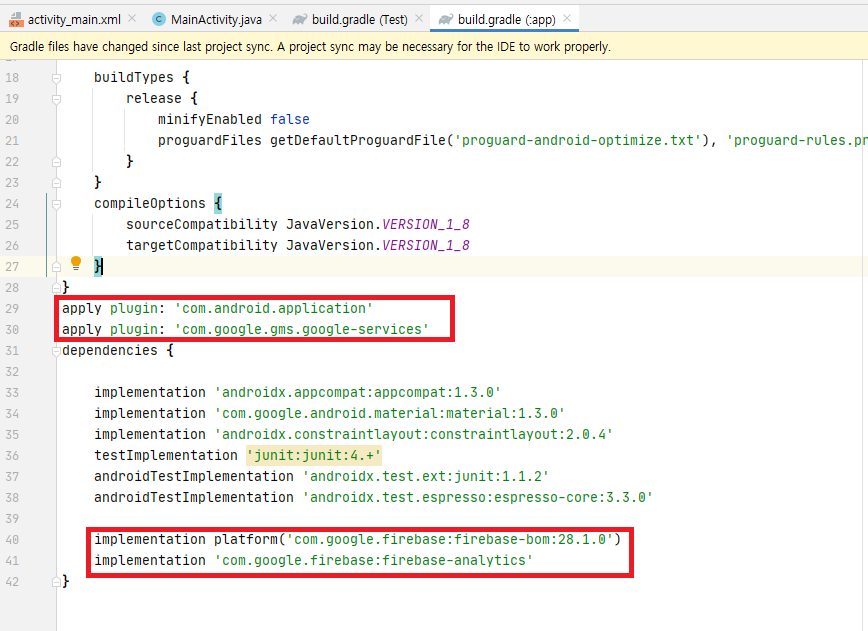
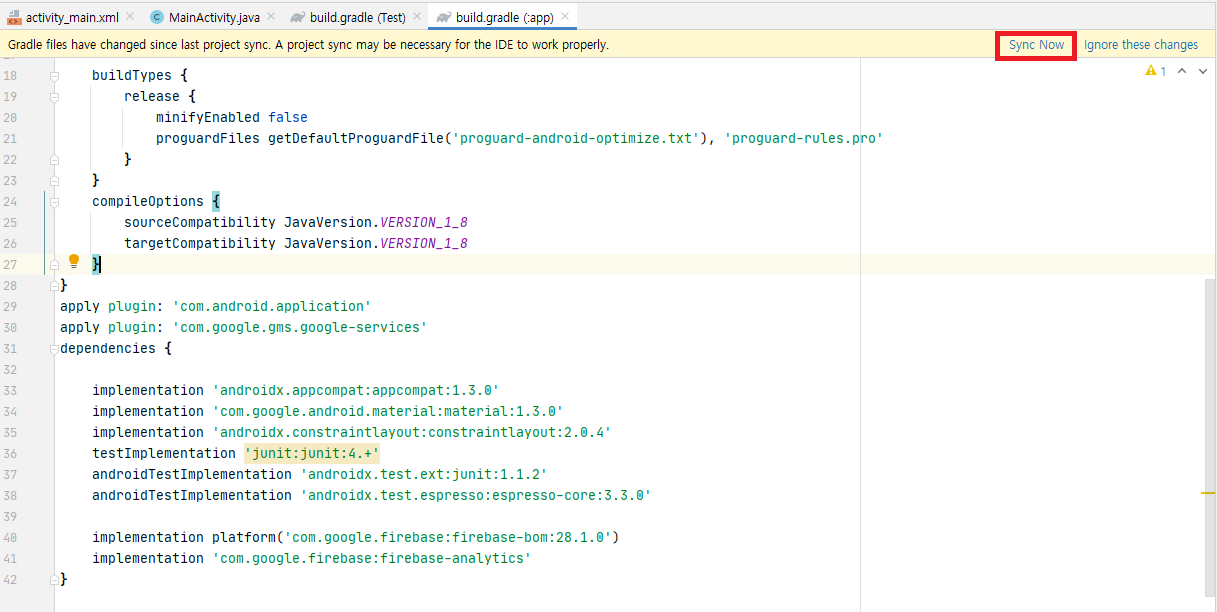
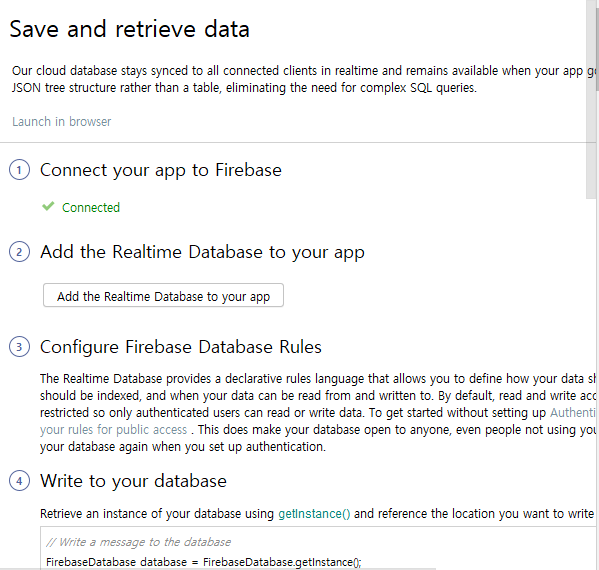
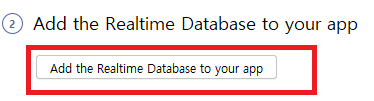
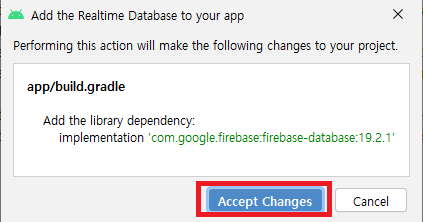
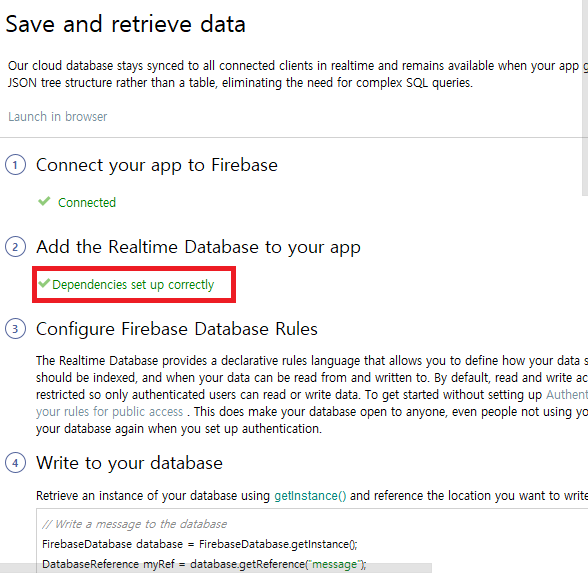
이제 안드로이드 스튜디오에서 관련 코드를 넣습니다.
다음 코드로 데이터베이스를 얻어옵니다.
DatabaseReference m_Database;
m_Database = FirebaseDatabase.getInstance().getReference();
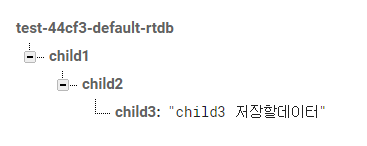
저장은 다음과 같은 코드로 넣습니다.
                        m_Database.child("child1").child("child2").child("child3").setValue("child3 저장할데이터")
                        .addOnSuccessListener(new OnSuccessListener<Void>() {
                            @Override
                            public void onSuccess(Void aVoid) {
                                // 저장 성공 시 처리
                            }
                        })
                        .addOnFailureListener(new OnFailureListener() {
                            @Override
                            public void onFailure(@NonNull Exception e) {
                                // 저장 실패 시 처리
                            }
                        });
로드는 다음과 같은 코드로 할 수 있습니다.
ValueEventListener postListener = new ValueEventListener() {
            @Override
            public void onDataChange(DataSnapshot dataSnapshot) {
                // 데이터를 불러올 때 처리
                int nCount = (int)dataSnapshot.getChildrenCount();
                String name;
                for (DataSnapshot postSnapshot: dataSnapshot.getChildren()) {
                  // 저장된 데이터를 하나씩 얻어옵니다.
                    if(postSnapshot.child("child3").getValue(String.class) != null) {

                        name = postSnapshot.child("child3").getValue(String.class);
                    }

                }
            }

            @Override
            public void onCancelled(DatabaseError databaseError) {
                // 데이터 불러오기 실패 시 처리
            }
        };
       // child3으로 정렬합니다.
        Query sortbyAge = m_Database.child("child1").orderByChild("child3");
        sortbyAge.addListenerForSingleValueEvent(postListener);
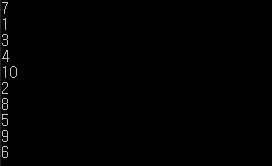
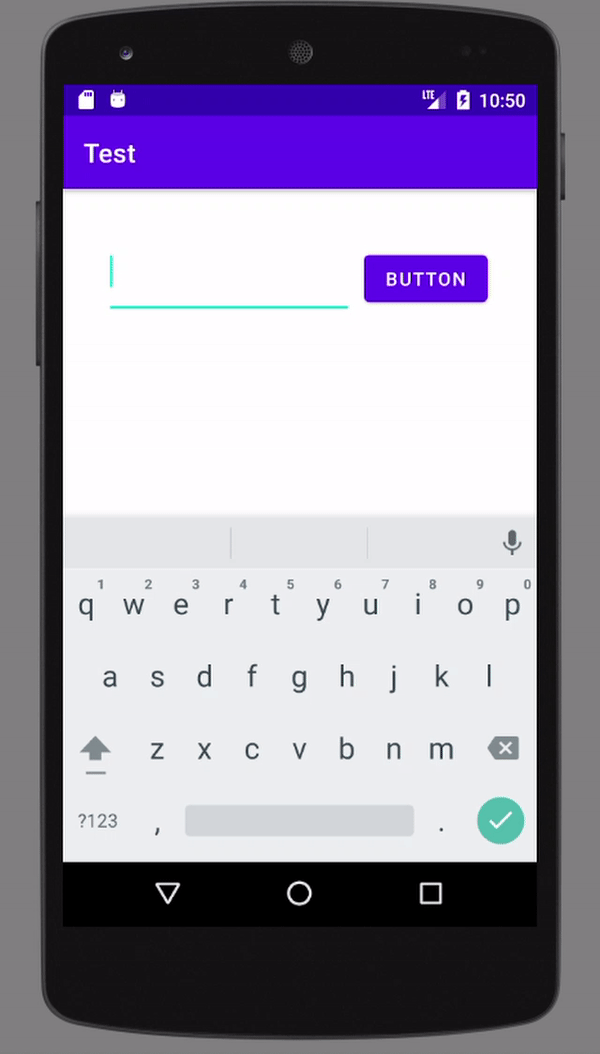
실제적으로 안드로이드 스튜디오에서 적용은 다음과 같이합니다.
MainActivity.java
|
1
2
3
4
5
6
7
8
9
10
11
12
13
14
15
16
17
18
19
20
21
22
23
24
25
26
27
28
29
30
31
32
33
34
35
36
37
38
39
40
41
42
43
44
45
46
47
48
49
50
51
52
53
54
55
56
57
58
59
60
61
62
63
64
65
66
67
68
69
70
71
72
73
74
75
76
77
78
79
80
81
82
83
84
85
86
87
88
89
90
91
92
93
94
95
96
97
98
99
100
101
102
103
104
105
106
107
|
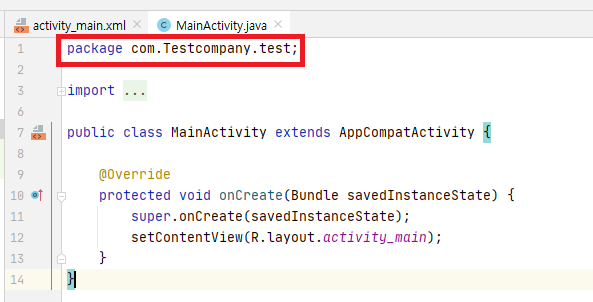
package com.Testcompany.test;
import androidx.annotation.NonNull;
import androidx.appcompat.app.AppCompatActivity;
import android.os.Bundle;
import android.util.Log;
import android.view.View;
import android.widget.ArrayAdapter;
import android.widget.Button;
import android.widget.EditText;
import android.widget.ListView;
import android.widget.Toast;
import com.google.android.gms.tasks.OnFailureListener;
import com.google.android.gms.tasks.OnSuccessListener;
import com.google.firebase.database.DataSnapshot;
import com.google.firebase.database.DatabaseError;
import com.google.firebase.database.DatabaseReference;
import com.google.firebase.database.FirebaseDatabase;
import com.google.firebase.database.Query;
import com.google.firebase.database.ValueEventListener;
import java.util.ArrayList;
public class MainActivity extends AppCompatActivity {
private DatabaseReference m_Database;
EditText m_edittext1;
Button m_button1;
ListView m_listview;
int m_nCount = 0;
ArrayList<String> m_arritems;
ArrayAdapter m_adapter;
@Override
protected void onCreate(Bundle savedInstanceState) {
super.onCreate(savedInstanceState);
setContentView(R.layout.activity_main);
m_Database = FirebaseDatabase.getInstance().getReference();
m_edittext1 = findViewById(R.id.edit1);
m_button1 = findViewById(R.id.button1);
m_listview =findViewById(R.id.listview1);
m_arritems = new ArrayList<String>() ;
m_adapter = new ArrayAdapter(this, android.R.layout.simple_list_item_1, m_arritems);
m_listview.setAdapter(m_adapter);
readUser();
m_button1.setOnClickListener(new View.OnClickListener() {
@Override
public void onClick(View view) {
String data1 = m_edittext1.getText().toString();
m_Database.child("users").child("Data"+m_nCount).child("username").setValue(data1)
.addOnSuccessListener(new OnSuccessListener<Void>() {
@Override
public void onSuccess(Void aVoid) {
Toast.makeText(MainActivity.this, "저장 성공.", Toast.LENGTH_SHORT).show();
readUser();
m_edittext1.setText("");
}
})
.addOnFailureListener(new OnFailureListener() {
@Override
public void onFailure(@NonNull Exception e) {
Toast.makeText(MainActivity.this, "저장 실패.", Toast.LENGTH_SHORT).show();
}
});
}
});
}
private void readUser(){
ValueEventListener postListener = new ValueEventListener() {
@Override
public void onDataChange(DataSnapshot dataSnapshot) {
m_arritems.clear();
m_nCount = (int)dataSnapshot.getChildrenCount();
String name;
for (DataSnapshot postSnapshot: dataSnapshot.getChildren()) {
if(postSnapshot.child("username").getValue(String.class) != null) {
name = postSnapshot.child("username").getValue(String.class);
m_arritems.add(name);
}
}
m_adapter.notifyDataSetChanged();
}
@Override
public void onCancelled(DatabaseError databaseError) {
Log.w("FirebaseDatabase","onCancelled", databaseError.toException());
}
};
Query sortbyAge = m_Database.child("users").orderByChild("users");
sortbyAge.addListenerForSingleValueEvent(postListener);
}
}
|
cs |
activity_main.xml
|
1
2
3
4
5
6
7
8
9
10
11
12
13
14
15
16
17
18
19
20
21
22
23
24
25
26
27
28
29
30
31
32
33
34
35
36
37
38
39
40
41
|
<?xml version="1.0" encoding="utf-8"?>
<androidx.constraintlayout.widget.ConstraintLayout xmlns:android="http://schemas.android.com/apk/res/android"
xmlns:app="http://schemas.android.com/apk/res-auto"
xmlns:tools="http://schemas.android.com/tools"
android:layout_width="match_parent"
android:layout_height="match_parent"
tools:context=".MainActivity">
<EditText
android:id="@+id/edit1"
android:layout_width="189dp"
android:layout_height="70dp"
android:layout_marginEnd="36dp"
android:layout_marginRight="36dp"
android:layout_marginTop="28dp"
android:ems="10"
android:inputType="textPersonName"
app:layout_constraintEnd_toEndOf="parent"
app:layout_constraintHorizontal_bias="0.236"
app:layout_constraintStart_toStartOf="parent"
app:layout_constraintTop_toTopOf="parent" />
<Button
android:id="@+id/button1"
android:layout_width="wrap_content"
android:layout_height="wrap_content"
android:layout_marginTop="44dp"
android:text="Button"
app:layout_constraintEnd_toEndOf="parent"
app:layout_constraintHorizontal_bias="0.861"
app:layout_constraintStart_toStartOf="parent"
app:layout_constraintTop_toTopOf="parent" />
<ListView
android:id="@+id/listview1"
android:layout_width="409dp"
android:layout_height="300dp"
android:layout_marginTop="104dp"
app:layout_constraintTop_toTopOf="parent"
tools:layout_editor_absoluteX="1dp" />
</androidx.constraintlayout.widget.ConstraintLayout>
|
cs |
'개발공부 > 안드로이드' 카테고리의 다른 글
| [안드로이드] err_cleartext_not_permitted 에러 해결 (0) | 2022.03.20 |
|---|---|
| [안드로이드] 앱바(App Bar) 셋팅하기( 제목변경, 색상, 버튼 이벤트, 아이콘 추가) (0) | 2021.07.15 |
| [안드로이드] 안드로이드 스튜디오에서 Firebase 연동 (0) | 2021.06.16 |